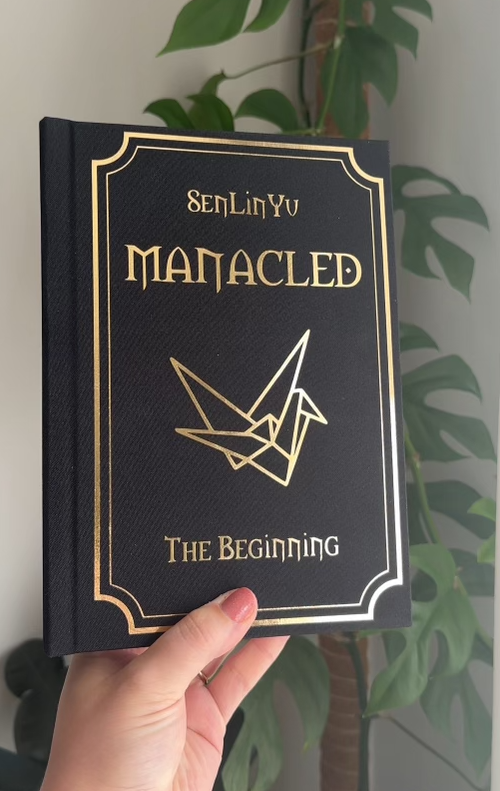
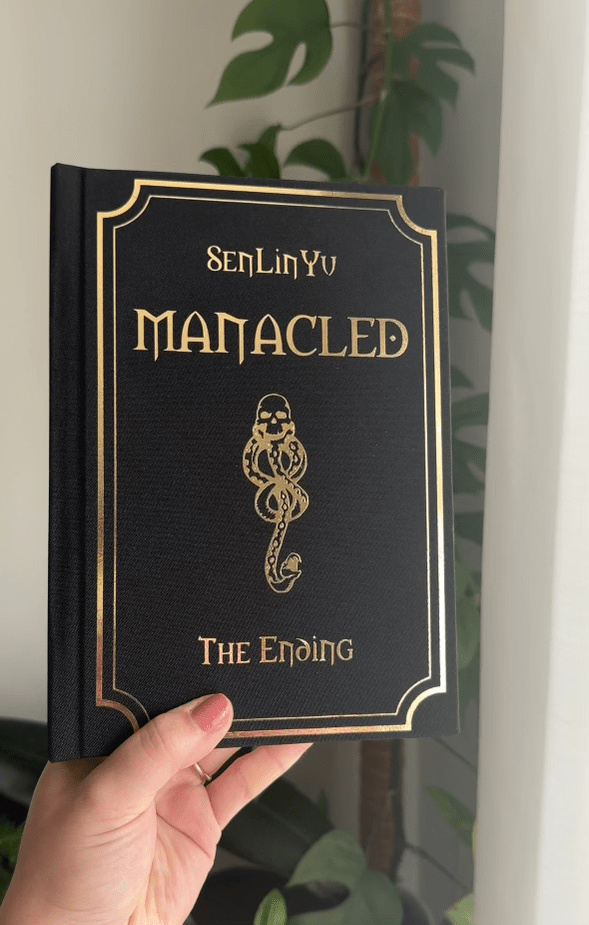
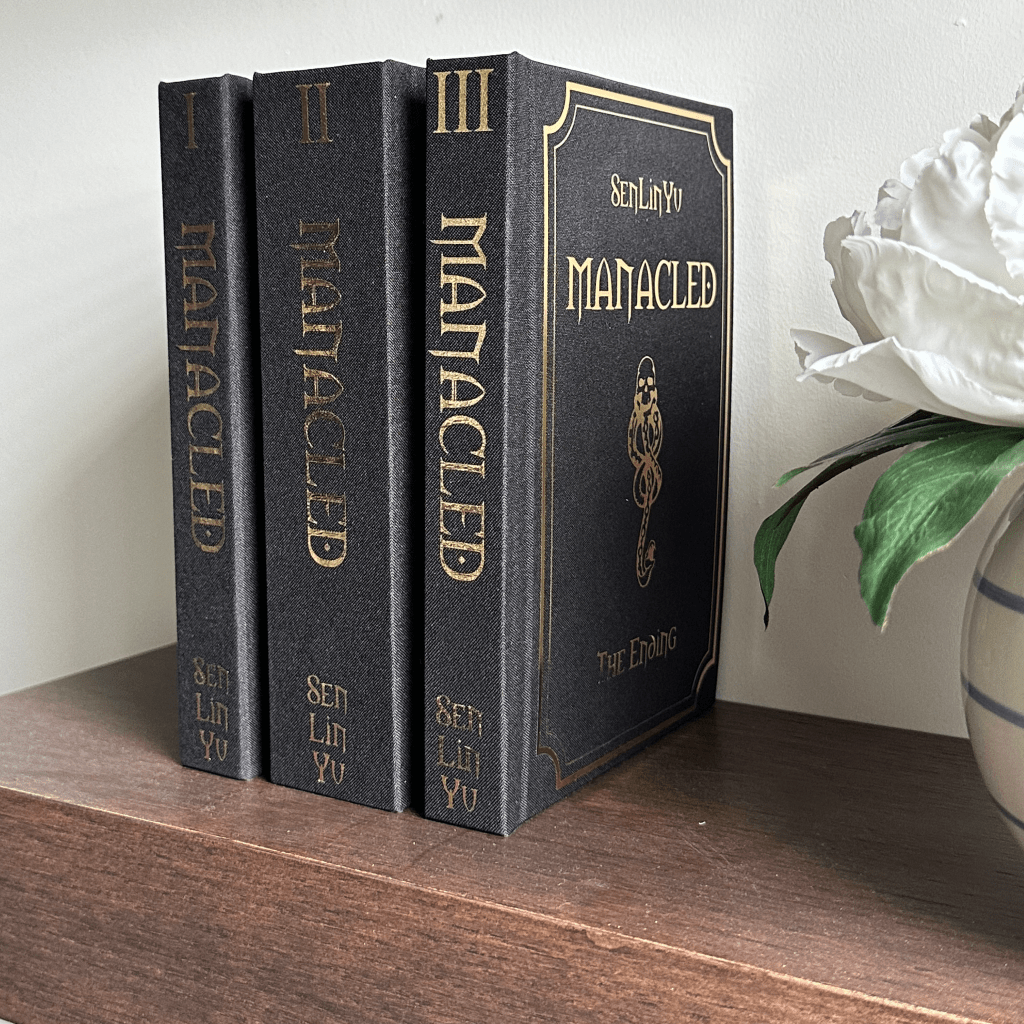
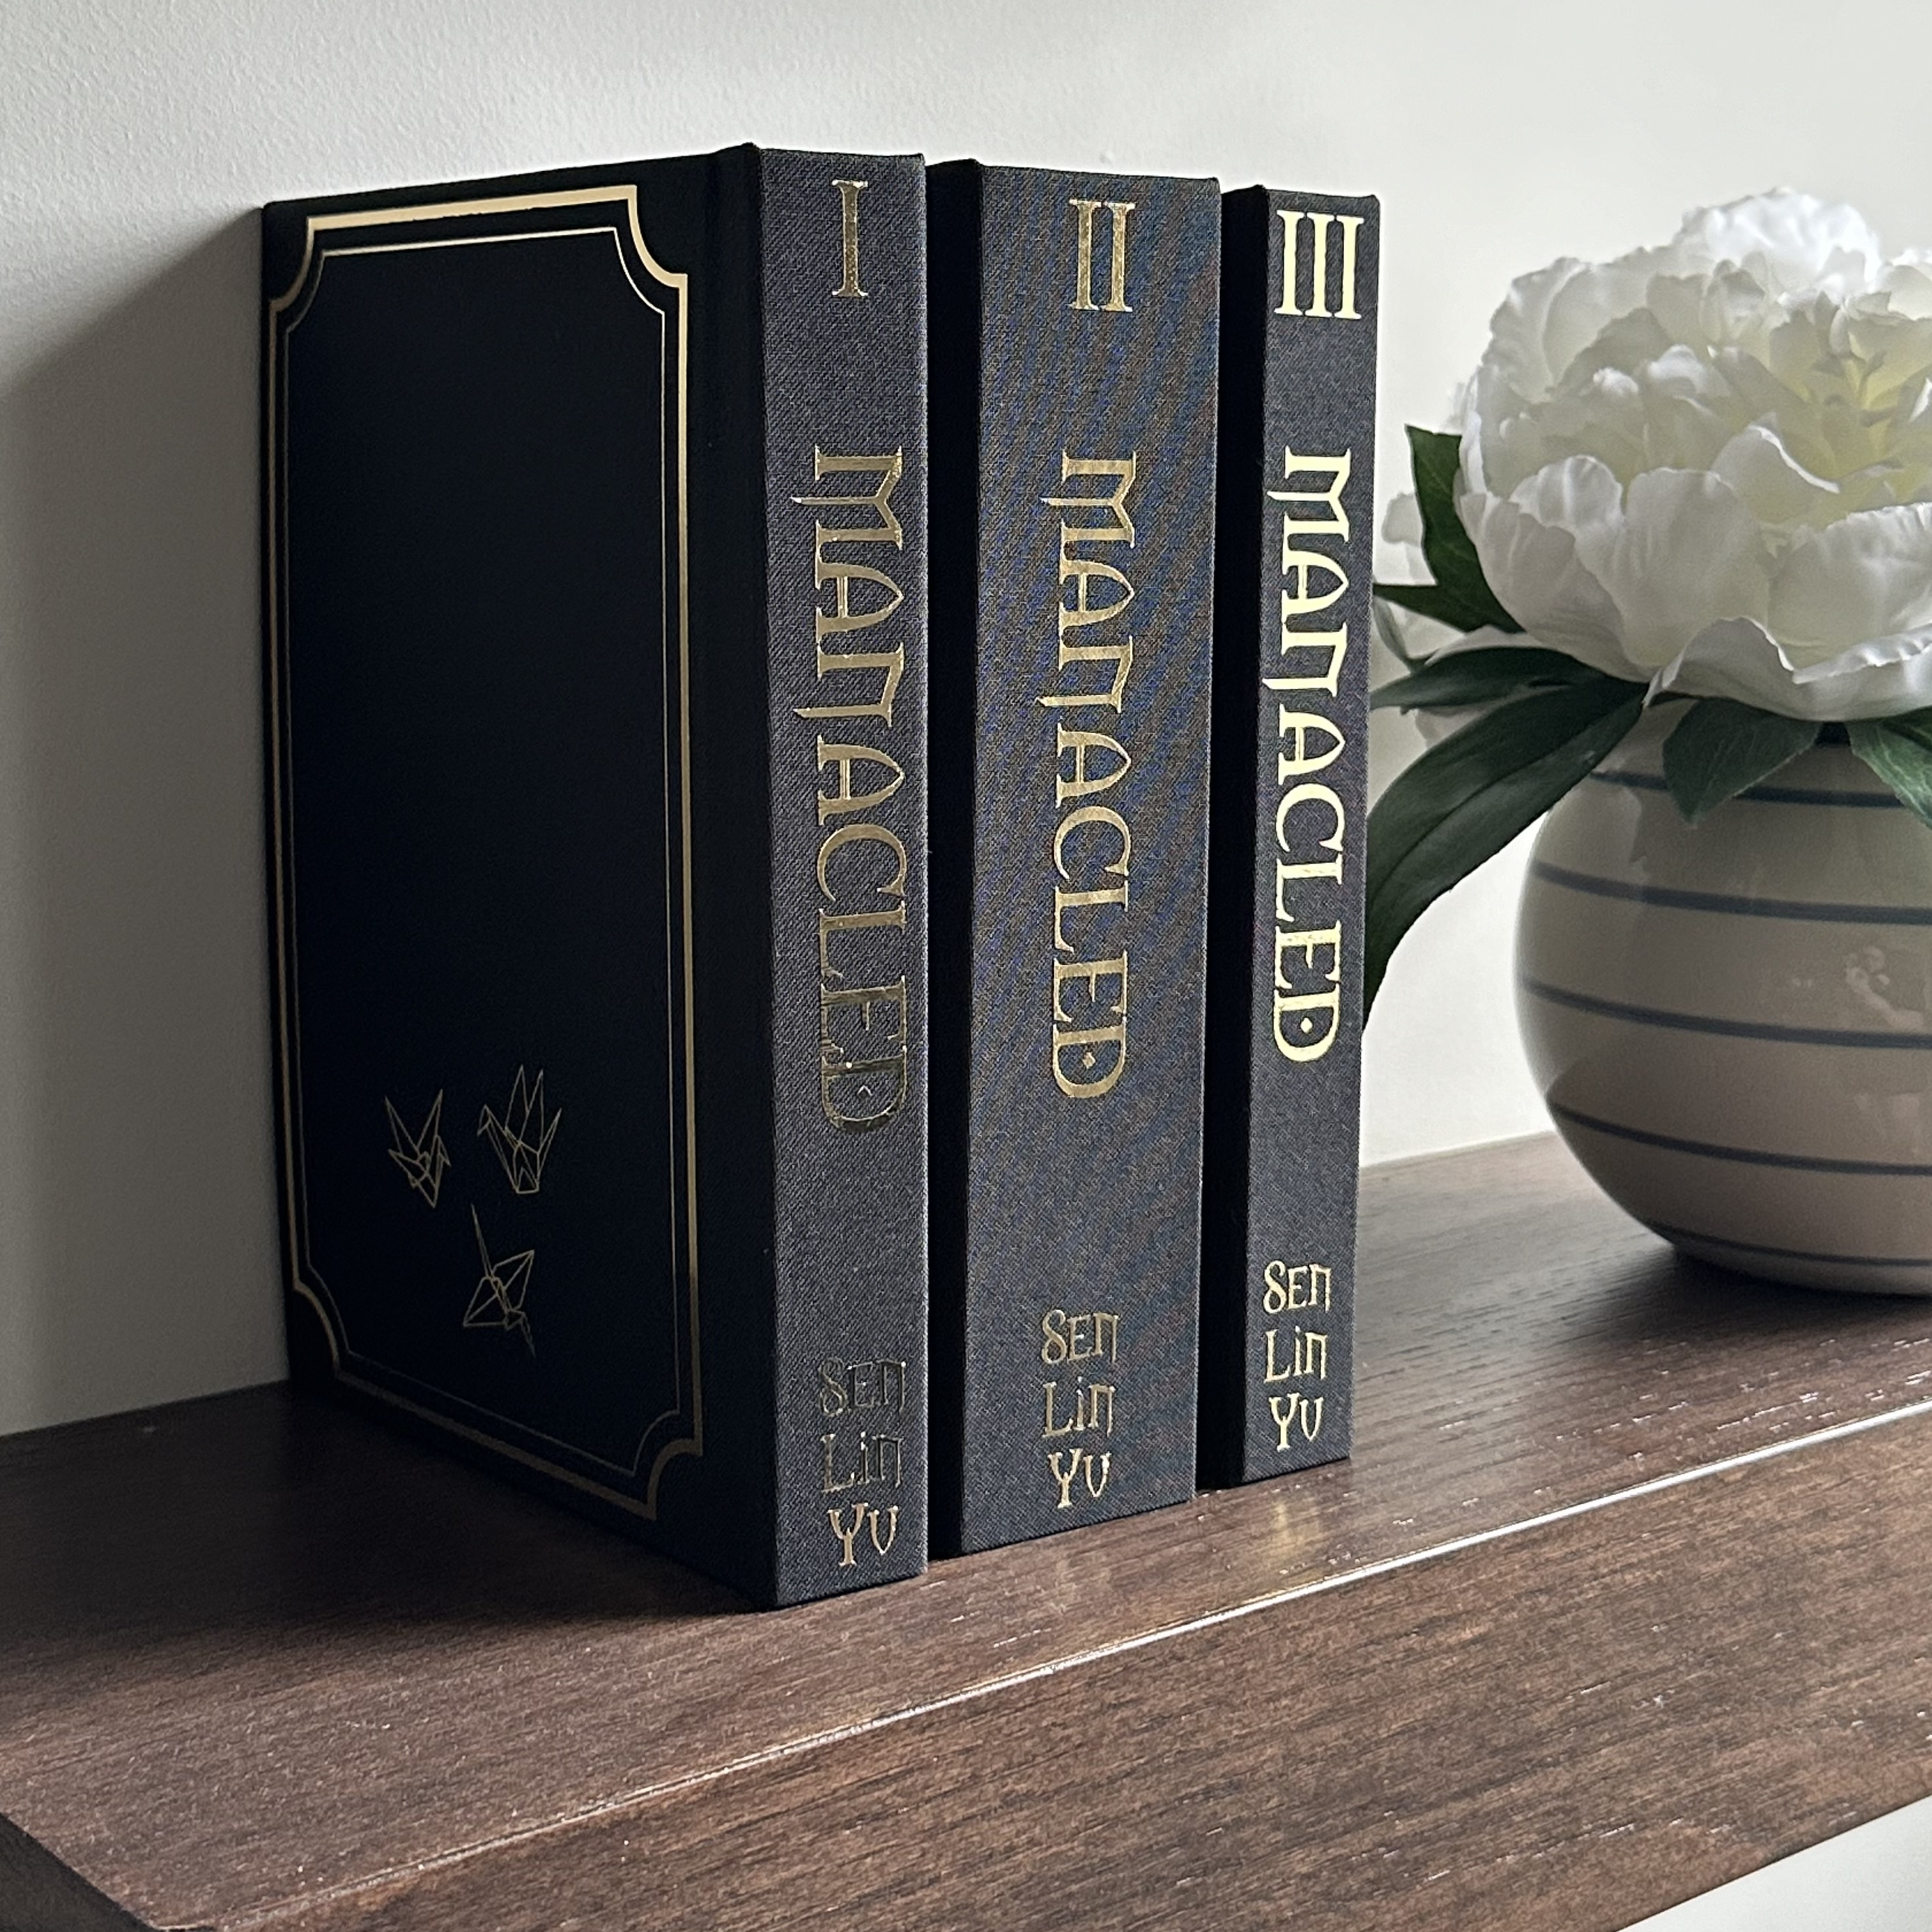
I was so excited to bind a copy of Manacled by Sen Lin Yu and I’m very pleased with how it came out. I hope this inspires you to take on your own book-binding adventure!

Lessons Learned
- Wrong size printer paper. If you didn’t know, A4 paper is not the same as 8.5 x 11″ paper. Make sure you buy A4 to print your typeset on (if you are printing it yourself) 🙂
- Printer troubleshooting. When I first started printing, I noticed the quality wasn’t great. After some research, I realized I needed to change the paper type to “Photo Printing” and “High Quality” in my printer settings.
- Ink cartridge count: 3 XL cartridges which was $$$$ – next time I would have the text block printed for me at Staples.
- The glue dries QUICK.
Materials
The below links are affiliate links. You will not be charged extra but I will receive a small commission for recommending the items.
- Book Board
- Book binding kit
- Book Press
- Binding Cloth
- Bone Folder
- Curved Needles
- Wax Thread
- Awl
- Glue Brush
- Endbands
- Book Cloth
- T Square Ruler
- PVA Glue
- Printer Paper
- End pages
- Sharp Utility Knife
- Cutting mat
- Parchment Paper
- Cricut Foil Iron-on
- Cricut (I have a Maker)
- Printer and Ink
Typeset used: https://www.patreon.com/posts/typeset-manacled-96260655
Recommended Videos
Check out this YouTube Playlist and my quick tutorial!
Instructions
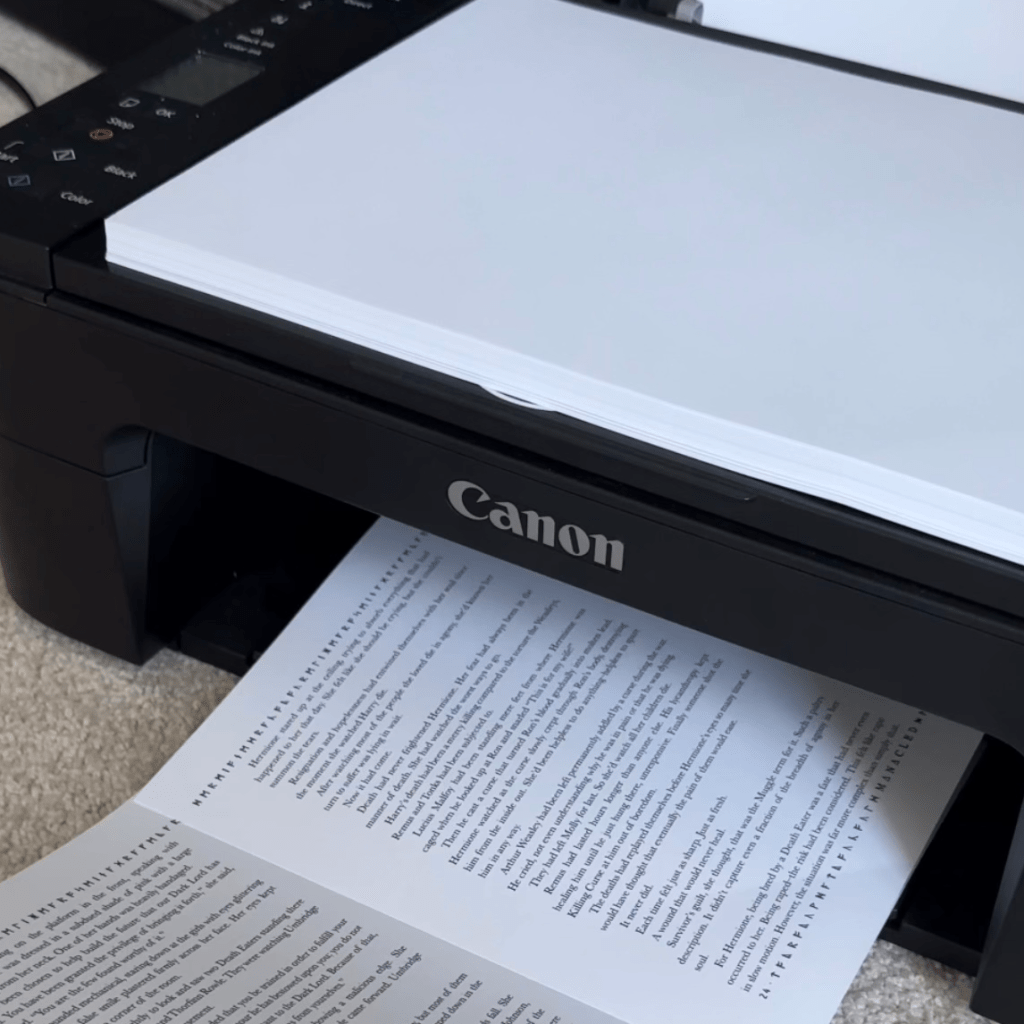
Step 1: Printing your typeset
Print out all of your pages on A4 paper. It’s important to note how many pages are in each “signature” (grouping of pages that will be folded and bound together). The Typeset you purchase will specify how many pages you will fold together. If you use the same Typeset I did, you will line up and fold every 8 pages together.
A few considerations for this step:
- You will go through A LOT of ink, it would definitely be cheaper, easier and, quicker to have the typeset printed for you.
- Printer settings. Try testing out a page before you print large sections to ensure you are happy with the quality and clarity of the text printing. You may have to switch to photo printing settings or up the quality. This will depend on your computer and printer.
- When you print the typeset make sure to print double-sided. If your typeset has a signature of 8 pages, you will be printing 16 pages of the Typeset at a time front and back for 1 signature. You need the pages oriented so when you turn your page over while reading, there is text facing right-side up on both sides of the page. (I recommend testing this with one signature before you get too far into printing).
- If your printer is not double-sided (mine wasn’t), you will have to print the odd pages of the signature (ie. the first 1,3,5… pages) and then flip the sheets (keeping the text facing the same direction) and feeding it back through to print the even pages on the backs of the odd sided pages.
- My printer had a tendency of pulling through 2 pages every once in a while so I only sent 1 signature at a time to print. If it caught two pages (especially if it was printing the even numbers on the backs) it would throw off the rest of the print and I would have to re-print that signature.
- I found it made the most sense for me to fold each signature right after it printed to keep the 8 pages together.
Step 2: Folding your signatures and sewing your text block
To begin folding your signatures, grab the number of pages needed in a signature for your typeset (in my case it was 8) and fold them in half. I found it easiest to line up the corners first and then start my fold from the middle.

Use your bone folder to press the fold to make sure it is crisp.
Once all your signatures are folded, it’s time to poke holes in them and sew them all together. I found this easiest to do with a template. I took a scrap piece of construction paper/cardboard that was the same size as my paper and folded it in half.
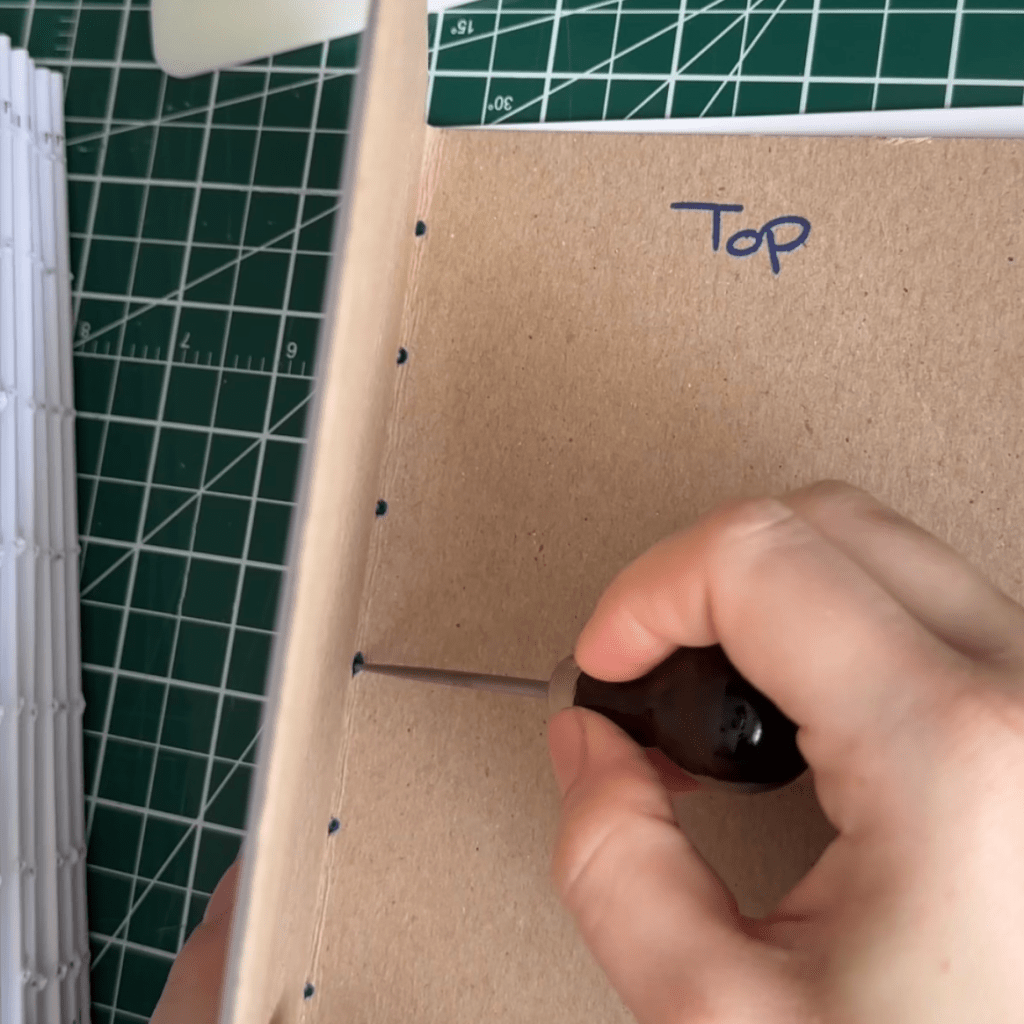
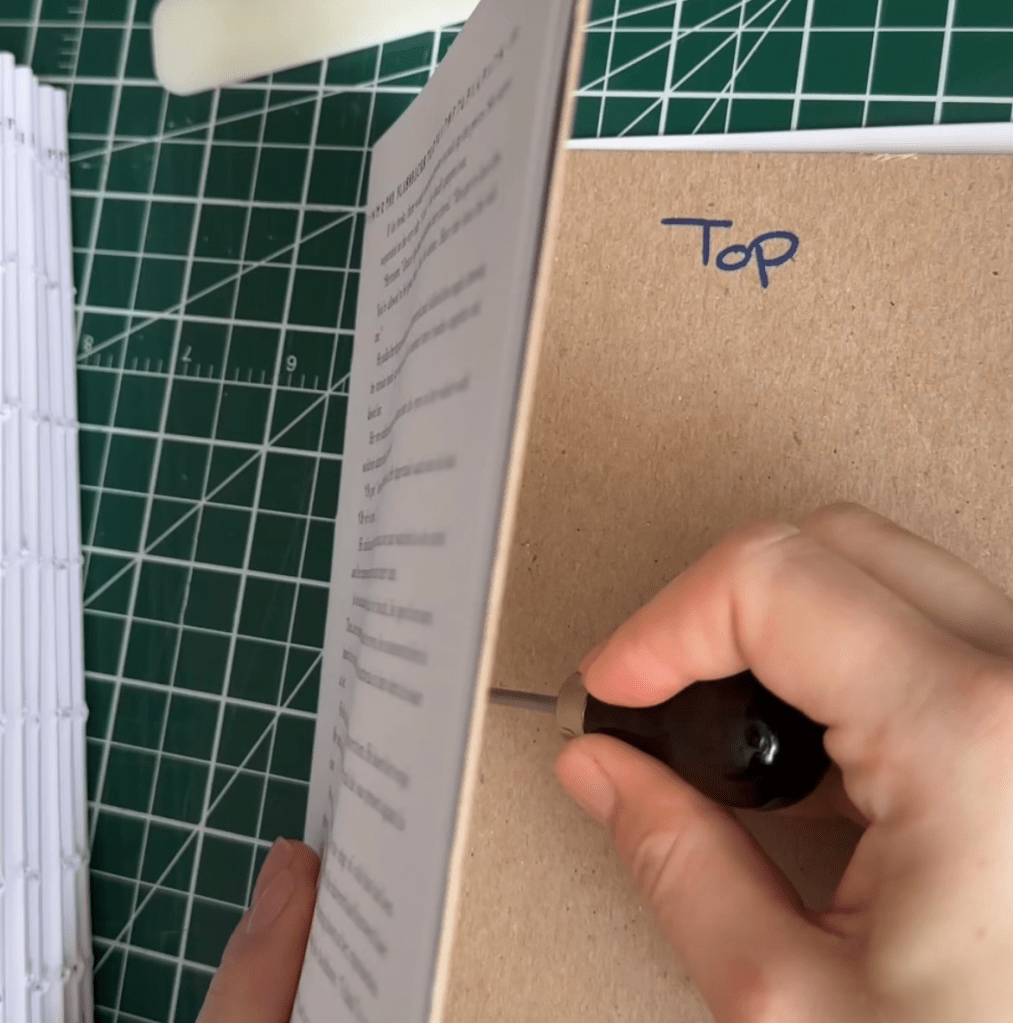
I then measured out and marked the centre with a dot, followed by more markings 1″ on either side of the centre and continuing in 1″ increments until you reach the end of the folds.
Use your awl to poke holes where your markings are. You now have a template that you can insert into each of your folded signatures to poke evenly spaced holes down each spine of folds.
For instructions on how to sew your text block, I highly recommend checking out this video. Something I did not account for was in this method, you will see the thread in the finished book in the middle of each signature – so choose a thread colour you can live with.
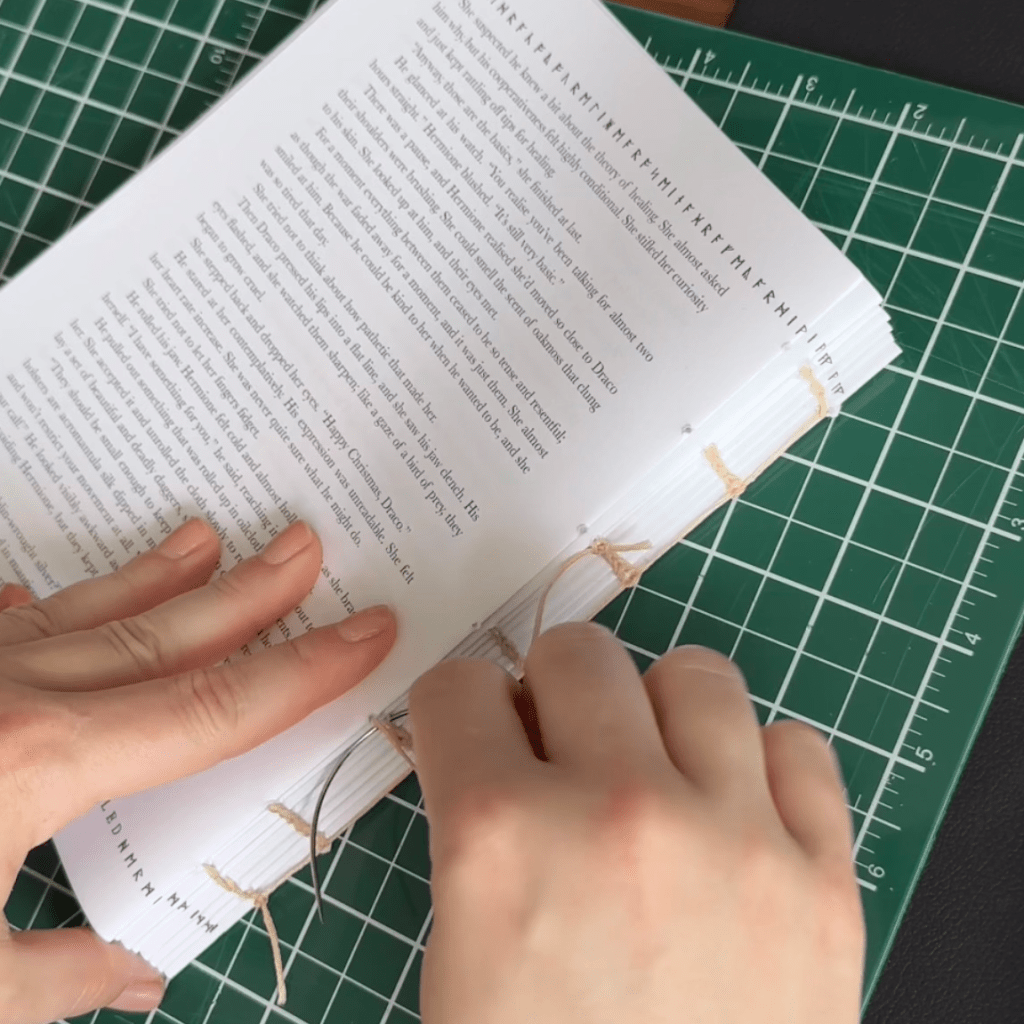
Once your text block is sewed together, pop it into your book press for a few hours or overnight to help form the shape and to further press your folds tight (so that they don’t become wider than the end of the pages)
Step 3: Glue your spine
Place your text block in your book press with parchment paper on either side to protect your pages from the glue.
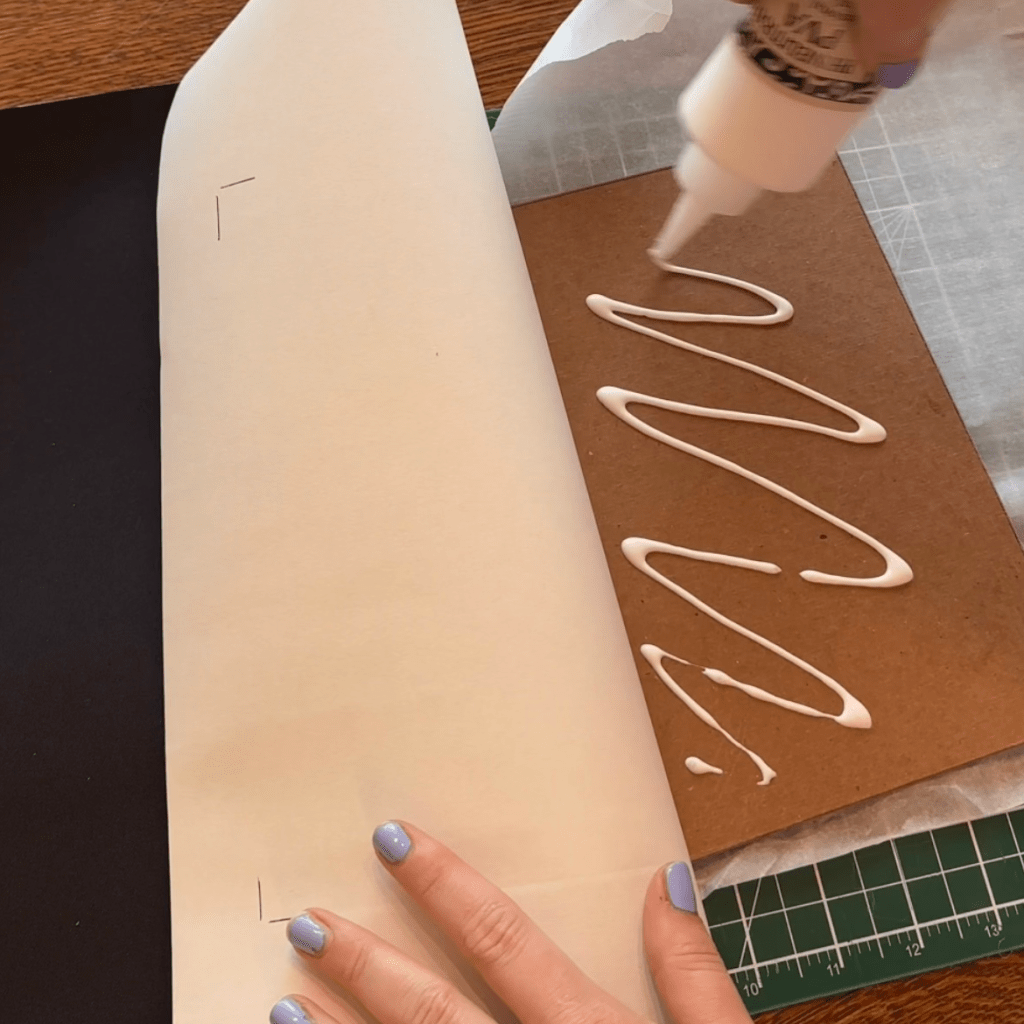
Cut out a piece of book cloth about 1″ short of the length of your spine and 2″ wider than the width of your spine.
Place it across the spine and glue it to the back, you can do several layers of glue (2-3 is what I did). Now is also a good time to cut your end bands to the width of your spine and glue them down to the tops and bottoms of your text block.
Let the glue dry for the recommended dry time on the glue (I left mine overnight).
If you want crisp ends you can take your text block to be professionally cut somewhere like Staples.
Step 4: Make your cover
I highly recommend this video to calculate your measurements for the book board. These steps are much easier to watch.
Once you have cut out each book board with your knife on a cutting mat, follow the above instructions to attach your book cloth. I found the parchment super helpful to keep my space clean of glue. I also used the same black card stock from my endpapers as my hinge for the case (that attaches the front cover, back cover and spine.)

Fold your end-papers in half and apply glue to approximately 1cm of the fold and glue them to each side of your text block. I went with solid black end-papers but you really can get creative if you can find thick, patterned, card stock paper in size A4. Once attached, put your text block back into the book press.
Place your text block (covered in parchment to catch any glue squeeze out) inside your cover in the book press.
NOTE: your text block will not be attached at this stage, it’s simply there to help hold the shape of your cover.
Step 5: Design your cover
Now is the time to design and cut your cover designs with your Cricut! The previously linked YouTube tutorial was excellent, make sure you load your material facing the right way (my material required shiny side down) and that you mirror your design so it transfers properly.
Weed and iron on your design to your cover.

Step 6: Glue your text block into your cover
Glue your text block into your cover. It’s important to have a thin but even coat of glue over your end-papers. Too much glue and it will squeeze out and wrinkle the end-papers, too little and it will pull up in spots. Ensure every inch of your text block is covered with glue (and add a bit extra where the book cloth is).
Place parchment on each side of your book between the end paper fold and place into your book press for the last time overnight.


Leave a comment